Pages

Friday, July 26, 2013

My Latest Exciting Find

 As I mentioned in my last post, I love antiquing in places I haven't been, because there's always that possibility that there's something extra special waiting, something that may have been sitting there for months and months without the perfect buyer.  I went to so many antique stores while I was vacationing earlier this month, with the hope that just around the next corner there would sit a wonderful dollhouse, but was disappointed almost every time (of course, I still found plenty of treasures, but I always have an extra keen eye out for dollhouses!).
 
On the very last day of my trip, on the spur of the moment, my mom and I decided to go to one last place.  I hadn't gone earlier, because it tends to be much more of a "high end, antique glass and furniture" sort of place, and not a "garage sale, fun junky treasures" sort of place.  But I thought I'd give it another try, since it was my last day and all.   Well, am I glad I did, because lo and behold, look what was perched up on top of one of the shelves!
 
A perfectly sweet, wonderful, handmade dollhouse!  And to make things more perfect, the whole booth was 20% off!
 
 Look at those sweet blue shutters, and that fantastic handmade door!
 
 And a flower box as well!  It was empty when I got it, but I had some little vintage millenary flowers that spruced things right up!
 
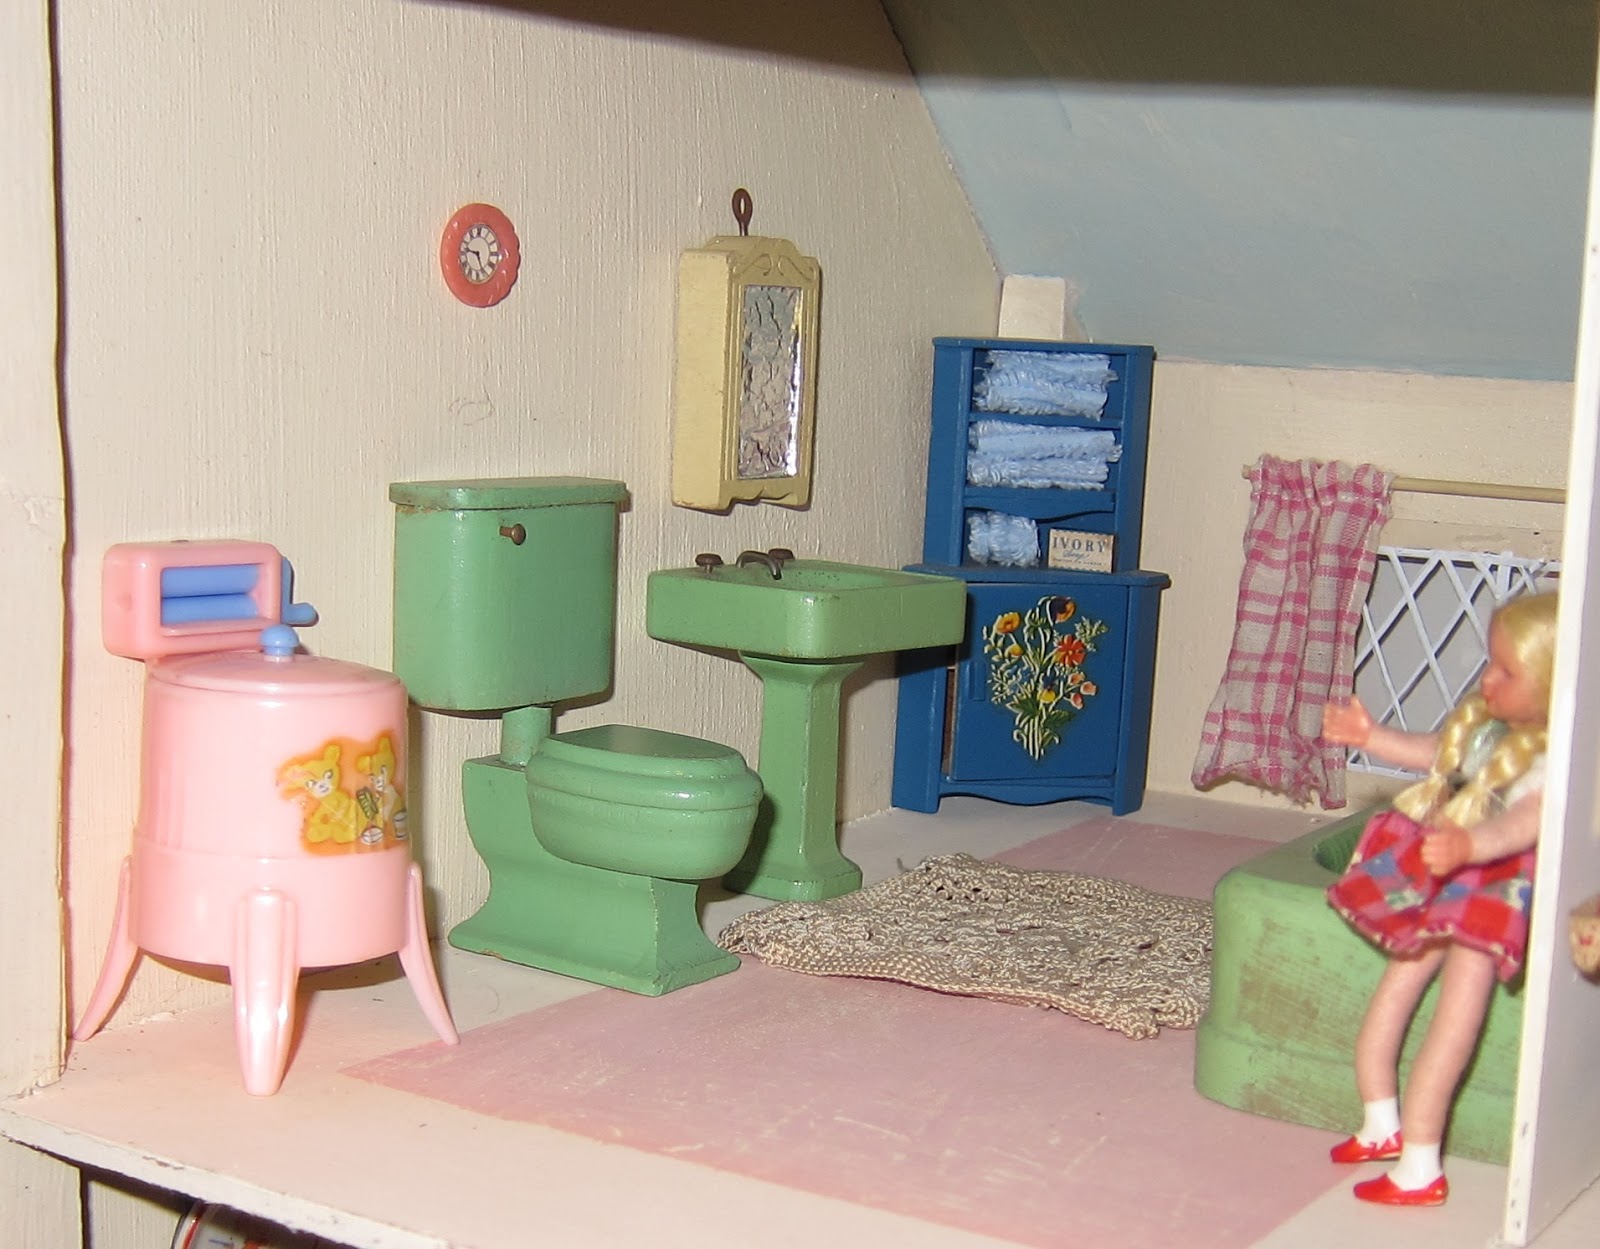
And as perfectly wonderful as the outside is, I love the inside even more!
 
 Here's another photo with the flash so you can see things a bit better.  The furniture didn't come with the house, but it fits in so well!
 
 The staircase and bannister were all hand-cut, and are so cute!
 
 I love that it also has a little porch outside!  I think I'll have to find some nice rocking chairs to put out there!
 
And now you can see why I needed to clear out some shelves in my studio.  I'm lucky that it fits in so well, but it definitely leaves no more space for any smaller collectibles!

Tuesday, July 23, 2013

Some New Things


Well, I think I have officially outgrown my studio!  As I mentioned last post, we were out of town for a bit, visiting my parents.  And one of my absolute favorite things to do is to go antiquing in a new town (or at least a town I haven't visited in a while).  I think my mother and I hit up probably seven or eight different antique malls during my time there, and I am now dealing with the effects of all those shopping trips!!
 
In order to fit all my new goodies into the room, I've had to do a bit of rearranging!  The above shelf was pretty full before, but I've had to really do some squeezing to fit a bunch more up there!
 
Not only did I buy a couple of items, but I needed to clear out some shelves from the other side of the room in order to fit a much, ahem, larger purchase (more on that in my next post!).  The doll dresser and doll bureau with the arrows above are new purchases- coincidentally, I already have the vanity dresser (with an attached mirror) that matches this set.
 
Here are a couple more shots so you can see the cuteness a little more closely!
 
I love the way it all looks, but honestly, I don't think I could fit a single more item up there!!
 
As you can see above, I also had to pack a bunch of my little porcelain collectibles into this small shelf space above my fabric.  Again, I don't think one more item will fit!
 
And ditto with the above shelves!  I'm telling you- no more room anywhere in there!!
 
I teased you a bit with my reference above to a large item that forced me to do most of this rearranging, but you'll have to wait until my next post for that!
 
However, I will show you more of the goodies that I was able to disperse throughout the rest of the house...
 
My globe collection has grown since you last saw it!  I've slowly been picking them up here and there from thrift or antique stores, and this past trip helped me round things out a bit!
 
Until recently, all the globes I had were the same size spheres, but I was able to find all the smaller ones on my trip, which adds so much more interest, I think!  Um, and oh yeah, I also got the blue tin dollhouse...  I thought it would work nicely with the globes, since many of them are blue tin as well.  Plus, I like to have a dollhouse out that the kids can play with, and this works great for that, since it's not as delicate as my others.  (Still haven't made a proper arrangement of artwork on this wall, which is why half the pieces are covered up- that's next on my to-do list!)
 
I also found the large globe above, so I made a smaller arrangement across the room above our pantry.
 
Finally, the last fun thing I'll show you is this adorable Suzy Homemaker oven!  It's a wonderful shade of dark aqua, and it lights up inside when it's plugged in.
 
I believe it was a precursor to an Easy-Bake Oven, and actually can cook things, but I replaced the bulbs with low-wattage ones so it doesn't get as hot.  Plus, the oven door automatically latches when it's too hot.

None of the kids would pose cooperatively when I was taking pictures, but they've already played with it quite a bit!  I came "this close" to also buying a similar larger pink oven, but knew I'd be in major trouble with the Hubby if I brought home two...sigh...!
 
And, speaking of Hubby, we celebrated our tenth anniversary while we were out of town!  We were married at a mountain lodge near Seattle ten years ago, so we went and spent our anniversary at a little log cabin bed-n-breakfast to remind us.  It was a perfect way to spend our special day!
 
 
Well, that's enough for me today!  I'll show you my last surprise goodie in my next post!!
 

Saturday, July 20, 2013

Meet the Rich Tudor's!

I've posted about this dollhouse before, but haven't ever given you a proper tour.  So I thought it was about time!
 
 I've decided that the family will be called the Tudor's, to identify them with their house.  We have Mother and Father, Grandma (who must be visiting, as she doesn't really have a bed in the house!), Big Brother, Twin Sisters, and Baby.  They all fit very nicely on their front porch, even though Father has to duck his head to fit through his front door!
 
 Here they are showing off their beautiful house!
 
 And here's a sneak peek at all the rooms!
 
 We'll start in the kitchen.  Mother is washing out some bottles for the baby.
 
 I talked about repainting these cabinets here
 
 Since that post, I gave the dolls some new curtains and a tablecloth made from an old handkerchief.  They help brighten the room up tremendously! 
 
 Then we move to the living room.  Father and Grandma are having some tea.
 
 Grandma is very fond of the doilies she crocheted for the backs of the sofa and chairs!
 
 No fire in the fireplace today, but it's still a nice, relaxing room!
 
 Out in the front hall, Big Brother is practicing piano.
 
 It's a surprise he can concentrate on his practicing when he's got that gigantic model ship right in front of him though!
 
 A sweet little area under the stairs where Mother checks her makeup before going out...
 
 Mother has come upstairs to get the baby ready for a nap. 
 
 Off to bed, little one!
 
 The vanity and bed are handmade and came with the house.  While I maybe wouldn't have chosen them, I just couldn't bear to take them out- I feel like they belong with the house!
 
 On to the children's room.  All three older kids share this room, and they've got plenty of room!
 
 They have two dollhouses to play with, as well as a little table on which to work.
 
 The girls have matching beds and share a little dolly bed on the floor.
 
 Finally, we have the bathroom, complete with a pink washing machine! 
 
Such pretty colors in here!
 
 Twin Sister #1 loves to help with the wash because she likes the cute teddy bears on the washing machine!
 
And here's one last look!
 
I hope you enjoyed this tour- this is one of my favorite houses so far.
 
We've just come back from a vacation, where I found lots of fun new/old goodies, and also celebrated a special day with my hubby!  I'll try to shoot some photos so I can show you in my next post!
 

Tuesday, July 02, 2013

Family Rules

 I know that "family rules" signs are nothing new around blogland.  But I always felt like they were just kind of the trendy thing to do, and weren't really right for our family.  That is, until summer hit! 
 
This summer has probably been my hardest summer with the kids to date.  I've just sort of felt at a loss as to how to discipline!  My kids are generally pretty good kids, but I think the boys have gotten so into the rhythm of being at school all day, that they don't know what to do with themselves all day long during the summer.  And Avery is now old enough that she wants to be involved with everything they are, so that causes a lot of quarreling!
 
It isn't like the kids are being awful or anything- it's just that the petty little quarrels and fights are wearing me down.  I've felt like there aren't necessarily "rules" they are breaking, so it's been hard to decide how to discipline.  For example, one kid starts mimicking another one just to be irritating.  We all know how that goes, right?  Well, it's really just kids being kids, but it still effects me because I have to hear about it.
 
So with the boys being at their grandparents for a few days, I sat down and wrote a list of rules that would cover every possible scenario my kids get into.  I phrased them as positive statements, like "Be Respectful", except for the "No Complaining" and "No Whining"- those were important enough to be very clearly stated!!  I plan to come up with some sort of a reward system around the rules, with the kids earning points when they demonstrate the positive rules.
 
Again, none of this is new- of course this is basically how we try to teach them to behave anyway.  But I'm a very tangible person- I need to have a tangible guideline to fall back on, plus I think it makes it easier for the kids as well.  "Stop being irritating!" is a pretty broad statement, but "Our family rules say to be kind and respectful to each other" is at least more specific. 
 
So anyway, that was a very long explanation about why I felt the need to make this sign!!!  I'm crossing my fingers that it will be a great way to manage the rest of the summer, and also bleed into the years to come as well... 
 
 Here you can see where it's hanging.  It's on the wall next to our kitchen table, and visible from both the kitchen and the family room.  And I was lucky enough to have a lovely switchplate to work around!!
 
 It was fairly easy to make.  The design was born of necessity actually.  I don't have a vinyl cutter, so I knew I needed to print the text on my computer.  But I wanted it fairly large, and the largest papers I have are 12 x 12 scrapbooking paper.  Since most of my words were going to be longer than 12", I decided to put two pieces of paper together for each line, resulting in the "patchwork" look.  I'm so glad I was forced to do it that way, because that's my favorite part about it!  Then I simply glued the papers down on pieces of wood and sanded the edges.
 
In case you are inspired to do something similar, the fonts I used were Porcelain, Old Typewriter, and Typo- all available on DaFont.com. 
 
So, wish me luck with this new system of mine!  Raising kids is such a challenge, isn't it?  As soon as you think you've got things figured out, a new stage of life arises and forces you to reconfigure it all!!